
Steve Binger of ColorTrends Painting notes that experience is our best tool. After three decades painting homes across Springfield and the Ozarks, I can tell you that learning how to paint interior walls like a pro starts long before you open a can. Most homeowners focus on color selection and roller technique. The real difference between a weekend refresh and a finish that lasts years is invisible: it’s the prep work and the product knowledge behind it. This guide breaks down the standards we apply on every jobsite so you can decide whether to tackle the project yourself or bring in backup.
Why Professional Prep Matters More Than the Paint Itself
You might assume the paint does the heavy lifting, but surface preparation is what decides whether that expensive topcoat holds for five years or peels within five months. Steve Binger says the majority of a lasting paint job happens before the first brushstroke, dust removal and surface adhesion matter more than coverage. Skip that foundational phase and no amount of premium paint saves the result from failing early.
Cleaning and Deglossing Surfaces Correctly
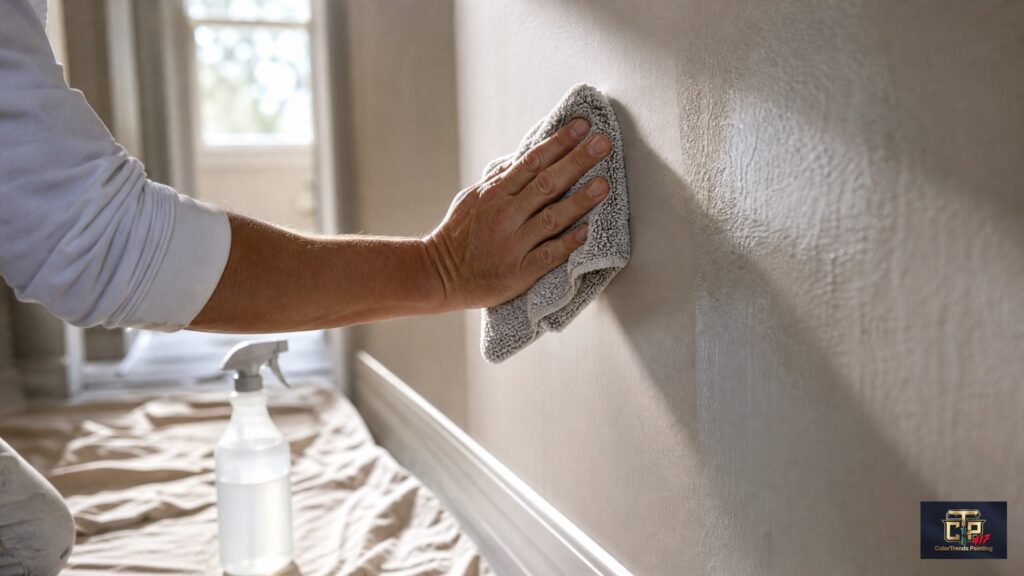
Walls collect grease, hand oils, and airborne dust that form an invisible barrier against new paint. Washing with a trisodium phosphate solution or a dedicated deglosser removes those contaminants and etches glossy surfaces just enough for mechanical bonding. This step isn’t optional if you want paint to actually stick and last in high-traffic areas like hallways and kitchens, where DIY jobs usually fail first. Our complete wall preparation guide walks through every cleaning and sanding step, including the specifics generic tutorials tend to skip.
Repairing Drywall Imperfections Before Rolling
Paint highlights flaws, it doesn’t hide them. Every nail pop, hairline crack, and failing tape joint needs attention before priming. In older Ozark homes, moisture issues or failing drywall tape often stay hidden until sanding begins, and when that happens the fix has to happen before painting continues. Filling and sanding these defects gives you a uniform surface so the topcoat lies flat instead of telegraphing the damage underneath. Our drywall repair solutions address the substrate problems common in Nixa and Republic homes built in different eras.
Essential Tools and Techniques for Painting Interior Walls Like a Pro
Professional-grade finishes come from a disciplined application rhythm and tools matched to the surface you’re covering. Bargain-bin rollers and random rolling patterns won’t get you a uniform sheen. The gap between amateur and professional work shows up most clearly when light hits the finished wall at an angle.
Selecting the Right Nap and Brush Quality
Cheap synthetic brushes shed bristles and leave streaks because they can’t hold and release paint evenly. A quality angled sash brush with flagged tips holds more material and cuts cleaner lines against trim and ceilings without dragging. Roller nap length has to match your wall texture: too thick a nap on smooth drywall creates orange-peel texture, and too thin a nap on knockdown leaves bare spots. Match the applicator to the surface profile, or you’ll end up with patchy, uneven absorption once it dries.
Mastering the Cut-In and Roll Method
Cutting in takes a steady hand and the confidence to load the brush without overworking the edge into a thick ridge. Cut only as far ahead as you can roll within ten minutes, so the brushed and rolled sections bond chemically while both are still wet. That’s a different workflow than the casual weekend approach of cutting in an entire room before rolling anything. Work in small sections, brush and roller together, and the paint film cures as one continuous layer instead of separate patches.
Maintaining a Wet Edge to Avoid Lap Marks
Lap marks show up when fresh paint overlaps paint that’s already dried, leaving visible ridges and sheen differences across the wall. Keeping a wet edge, working while the leading edge is still open to new material, is what prevents that. Plan your stopping points at corners or door frames, not mid-wall, where overlap is nearly guaranteed. Work in manageable zones with steady pressure and the film thickness stays even from ceiling to baseboard.
Choosing Paint Sheens and Products for Missouri Humidity
Springfield’s seasonal humidity swings affect how paint cures and whether the sheen comes in even across the wall. You need products built for Ozark conditions, not generic national advice that ignores the regional climate. Get the chemistry wrong here and you’re looking at blocking, slow cure times, or sheen burnishing in rooms that see daily use.
Matching Finish to Room Function and Traffic
Flat paint hides imperfections well but marks easily and cleans poorly in an active household. Satin or eggshell hold up better to washing in family rooms and bedrooms while still masking minor drywall undulations. Semi-gloss belongs on trim, doors, and bathroom walls, where moisture resistance and frequent wiping call for a harder surface. Know these trade-offs, and you’ll pick a sheen for long-term performance instead of looks alone.
Understanding VOCs and Drying Times in Local Climate
High summer humidity slows evaporation and stretches the recoat window well past what the can label promises. Low-VOC formulations often dry slower than traditional solvent-based paint, which matters if you’re trying to get multiple coats done in a single day. Springfield’s humidity calls for formulations with enough open time to prevent lap marks in muggy weather. Rush a recoat in humid conditions and you trap solvent under the surface, and the adhesion failure shows up months later.
When to Call for Backup: Signs Your Project Needs a Professional
There’s a clear point where DIY risk outweighs the savings, especially once safety concerns or hidden substrate issues enter the picture. Stop and hire a professional when structural movement has cracked the drywall more than once, when water stains point to an active leak, or when the ceiling is too high to reach safely with a ladder. Catch these early and you avoid costly rework, and you protect yourself along with the house.
Identifying Structural or Moisture Damage Behind Walls
Paint can’t fix a roof leak, a plumbing failure, or foundation settlement showing up as staining or cracking. Paint over active moisture damage and the job fails, sometimes trapping mold inside the wall cavity where it spreads unseen. At that point, stop the DIY paint job and bring in a professional to handle the safety or substrate risk before any cosmetic work resumes. Fix the root cause first, and your paint job actually protects the structure instead of just covering it up.
Navigating High Ceilings, Complex Trim, and Historic Textures
Vaulted ceilings and stairwells are fall hazards on their own, which is reason enough to bring in someone with the right equipment and insurance. Historic plaster and ornate woodwork need techniques most general painters haven’t trained for. ColorTrends Painting offers DIY painting coaching, our “We Help U PAINT” service, built specifically to bridge the gap between a DIY attempt and full professional contracting for Springfield homeowners who want guidance without handing over the whole job. It’s a middle ground: expert oversight, with labor costs still in your hands.
Protecting Your Home and Achieving Zero Mess Results
Proper containment keeps paint off your flooring, fixtures, and trim while the crew is working. You deserve a contractor who treats your home like it’s their own and leaves it cleaner than they found it. Discipline in site management is what separates a craftsman from someone who just applies color.
We use canvas drop cloths that stay put and absorb spills, not plastic sheeting that tracks wet paint through the house. Masking tape goes on with care, protecting hardware and glass without bleeding underneath while we cut in. Every piece of furniture gets moved and covered, not just pushed to the center of the room where overspray still reaches it. That’s how you get zero mess, and it’s also just respect for someone else’s property.
Post-Painting Care and Warranty Expectations
Knowing the difference between cure time and dry time keeps you from damaging fresh paint by cleaning it or shoving furniture against it too soon. Paint can feel dry to the touch within hours, but it needs days or weeks to reach full hardness and chemical resistance, depending on humidity and ventilation. Rush that curing process and you get fingerprints, sticking, and sheen damage, the kind of thing that voids a warranty no matter how good the product was.
A legitimate 5-year warranty covers adhesion failure and finish problems that trace back to application errors or product defects under normal use. It doesn’t cover abuse, unauthorized repairs, or things outside the painter’s control, like flooding or structural movement. Getting these boundaries clear upfront is what builds trust and sets honest expectations for what the work actually guarantees.
Professional interior jobs put far more hours into prep and priming than into laying down the actual topcoats. That’s not inefficiency. That’s what keeps the 5-year warranty valid.
Planning Your Timeline: Realistic Schedules for Interior Projects
An honest timeline lets you plan around your routine instead of living with an open-ended project. Room size, how much prep is needed, and the drying conditions all factor into when you get each space back. How well a contractor communicates about progress and delays says as much about them as their technical skill.
If Steve tells you the crew arrives at 9am, be ready by 8:50. Punctuality signals respect for your schedule and attention to detail. We build realistic project timelines off actual labor hours per room type, not optimistic guesses that fall apart on site. Proper sequencing of prep, prime, and paint prevents bottlenecks and gives every coat the drying time it needs before the next one goes on. It’s the same standard we hold for the physical work itself, just applied to the schedule.
Learning how to paint interior walls like a pro means being honest about your own skills, patient enough for proper prep, and willing to call for help when a project goes past your comfort zone. Whether you DIY with coaching support or hand us the full job, the goal is the same: a finish that serves your home for years to come.